Because ramp plates rely on the raised landing or threshold for support, they often need to be fastened to the landing or threshold before use. Ramp plates designed for rises of an inch or more typically come with two or three pre-drilled holes on the high end of the ramp. If the ramp will be attached to wood, wood or machine screws drilled directly into the wood provide lateral stability. If the landing on which the top of the ramp rests is concrete, then concrete lags and screws must be used to securely attach the upper portion of the ramp to the landing or sill.
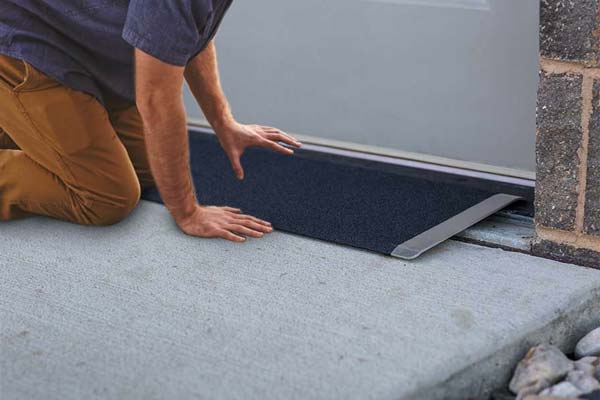
Virtually all threshold ramps are easy to install. Most just need to be placed in the proper location, and that’s about it! Some ramps, including aluminum threshold ramp plates and adjustable threshold ramps, take a bit more work.
An adjustable threshold ramp is especially desirable when the height of the landing does not perfectly match the height of one of our fixed-height threshold ramps. The adjustability allows you to perfectly match the height of the threshold within a fraction of an inch.
Because the HandiRamp adjustable ramps have up to a 2-inch range of adjustment, it’s important to select a vertical size as close as possible to the height of the rise that you are trying to match. Some shorter ramps have substantially lower adjustability, so measure and order thoughtfully.
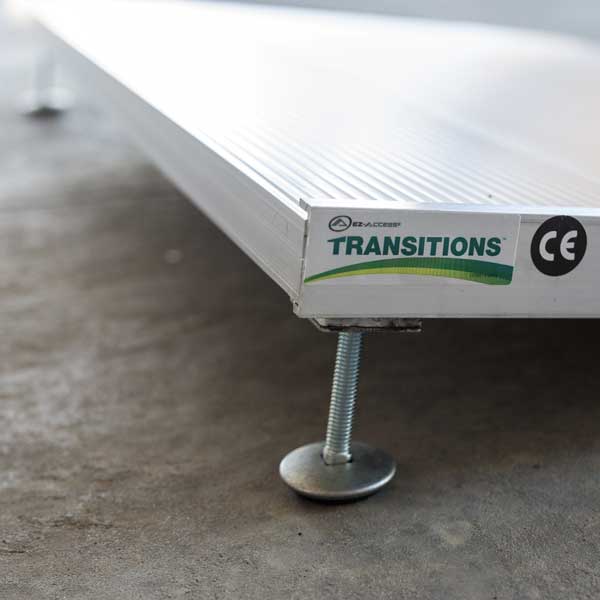
For rubber ramps with a rise of 2 ½ inches or less, installation is easy. You simply remove the ramp from the box, place it securely against the threshold, and if the instructions indicate, secure the rubber ramp with screws to wood, or lags to concrete. If your rubber threshold ramp is slightly higher than the threshold you may want to trim the top of the ramp to make it even with the door threshold or landing.
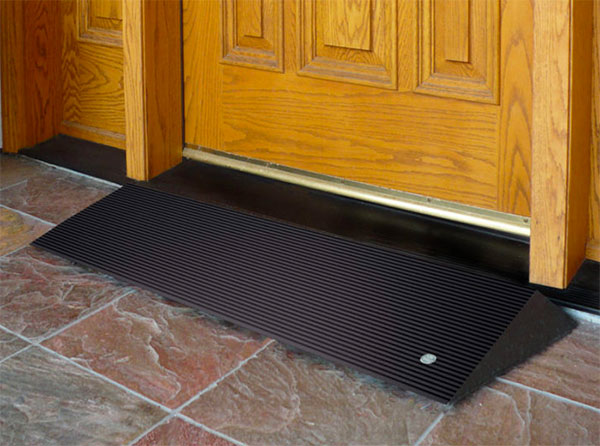
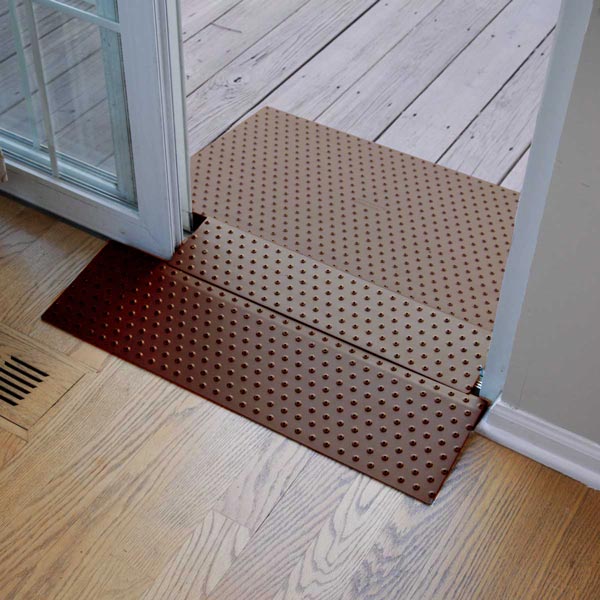
Modular rubber threshold ramps require a bit more work. First, after unboxing the various ramp pieces, lay down the base for the high section of the ramp against the threshold and secure it to the walkway with screws or concrete lags. Once the base is securely installed, add the slanted, top ramp layer. Finally, you’ll bring in the second angled ramp piece to butt up against the previously installed section of the ramp that touches the door. Once again, following the instructions for your particular model, you’ll secure this second section to the walking surface using screws or concrete lags.
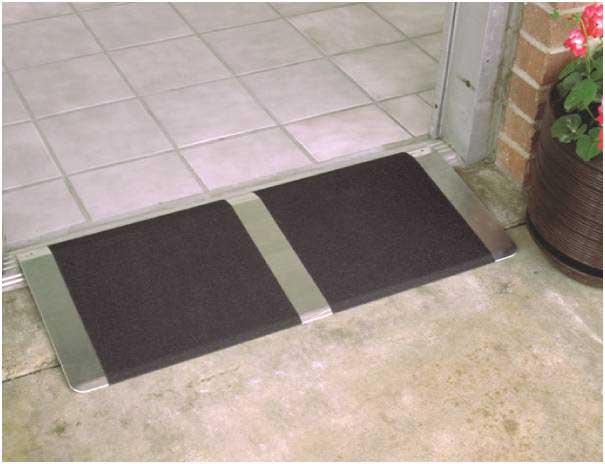
The aluminum sliding door threshold ramp arrives as a three-part kit consisting of the outdoor threshold ramp, the indoor threshold ramp, and the crossover bridge. To install, the crossover bridge must be bolted to the outdoor threshold ramp. Because the ramp is self-supporting, the indoor and outdoor ramps are installed by aligning them flush against either side of the door threshold. The crossover bridge rests on the lip of the indoor threshold ramp when in use, and can be moved up and out of the way in order for the sliding door to close completely.
If you have any questions about ramp installation, adjustment or maintenance, click the chat button to the right or send us an email with a photo or two of your threshold ramp. We’ll be glad to offer our expert advice.